OhioLINK Authoring Training
OhioLINK Authoring Training
This is the video of the authoring training that took place on Friday, June 22, 2018.
STEP 1: Preparing Your Courses
Course Outline
Develop a course outline with a clear hierarchy:
Course -> Topic -> Learning Objective -> “Tasks”
Google Drive Foldering
Authors create Google Folders that match the outline hierarchy.
Create a folder for your course.
Within that folder, create a folder for each Topic (it may be useful to number these, which is not illustrated here).
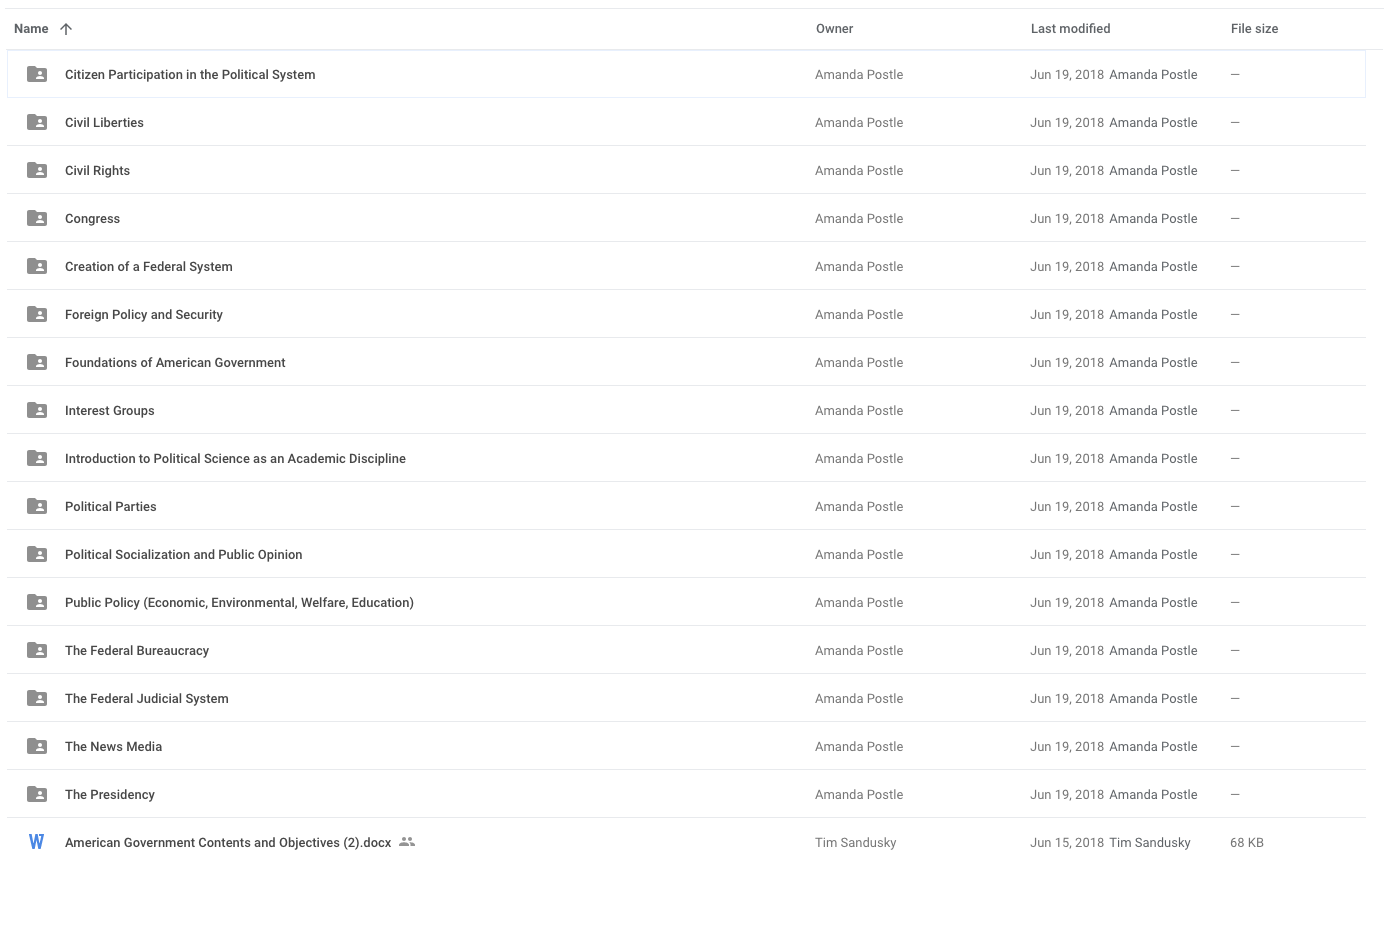
Within each Topic folder, create a folder for each Learning Objective.

Screenshot from Google Drive of the Learning Objective folders that are nested within each Topic folder.
Create a Doc for each of the sections of your Learning Objective (this is what you will import into the Task Field of the Learning Objective Builder).
STEP 2: Importing your content
Using the Course Shell
Based on your course outline, ISKME creates a shell of your course in the site.
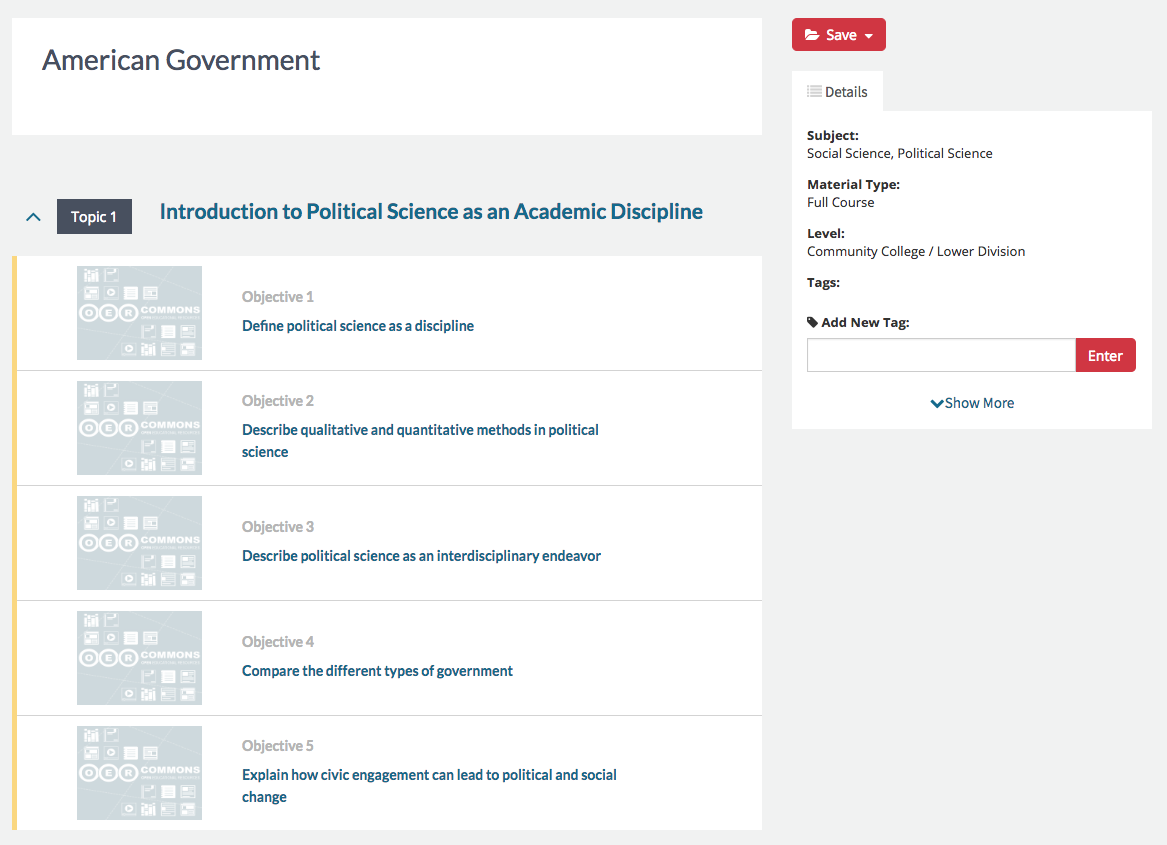
Example of a CourseBuilder shell in Open Author -- this displays the Course Title, Topic 1, and the underlying objectives.
Click into the Objectives to add your content. There will not be anything but the title there, but don’t be alarmed!!
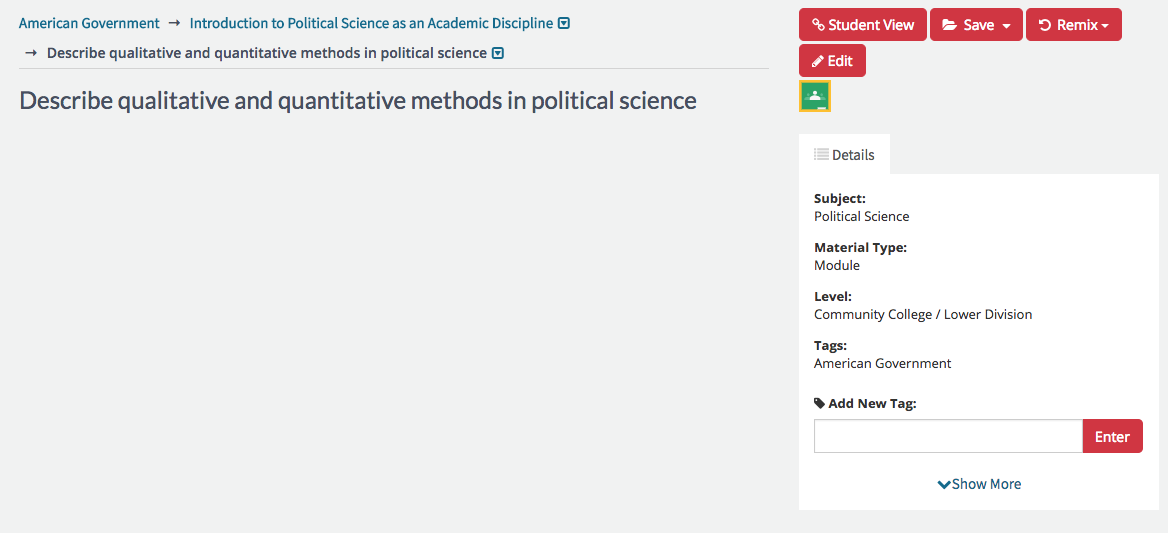
Screen shot of the Learning Objective shell, ready for the author to click "edit" and to begin adding the instructional materials.
Click “Edit” and you will be able to start adding content. The first field you’ll see will be the Overview. NOTE: This Overview is a basic description of this Learning Objective. It will display as the resource description and will not be visible to students.
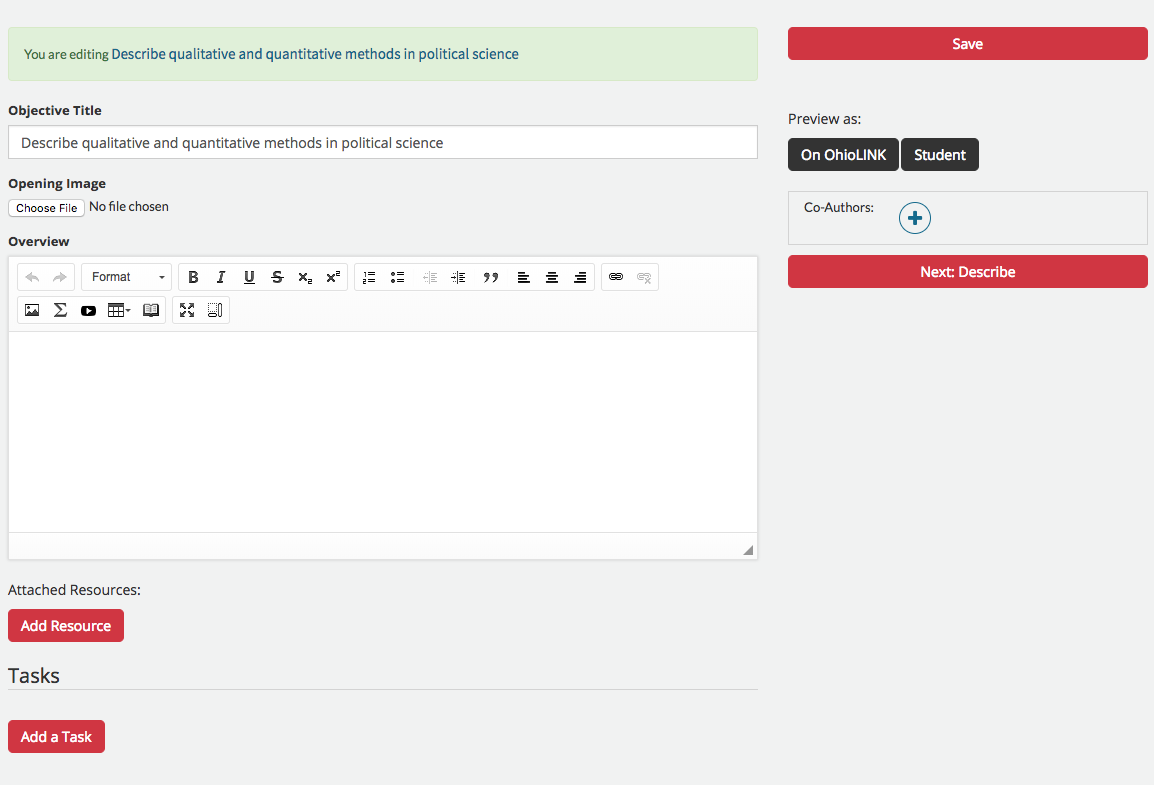
After clicking "Edit" the first field is the Learning Objective description.
Adding Tasks to Bring in Course Content
Click “Add Task” to add your student-facing content -- and import each section into your Learning Objective from Google Docs.
You must name each Task (keep it simple) and you will also be asked for an Instructor Description. This can be a short description (This Task covers X, Y, Z) and will not be visible to students.
For the Student Content, this is where you will import the Google Doc you have added to the Learning Objective folder.
You may also attach additional files, if you have any resources you would like to associate with this section and make available to students from their screens.
At this time using “Step” is not recommended.
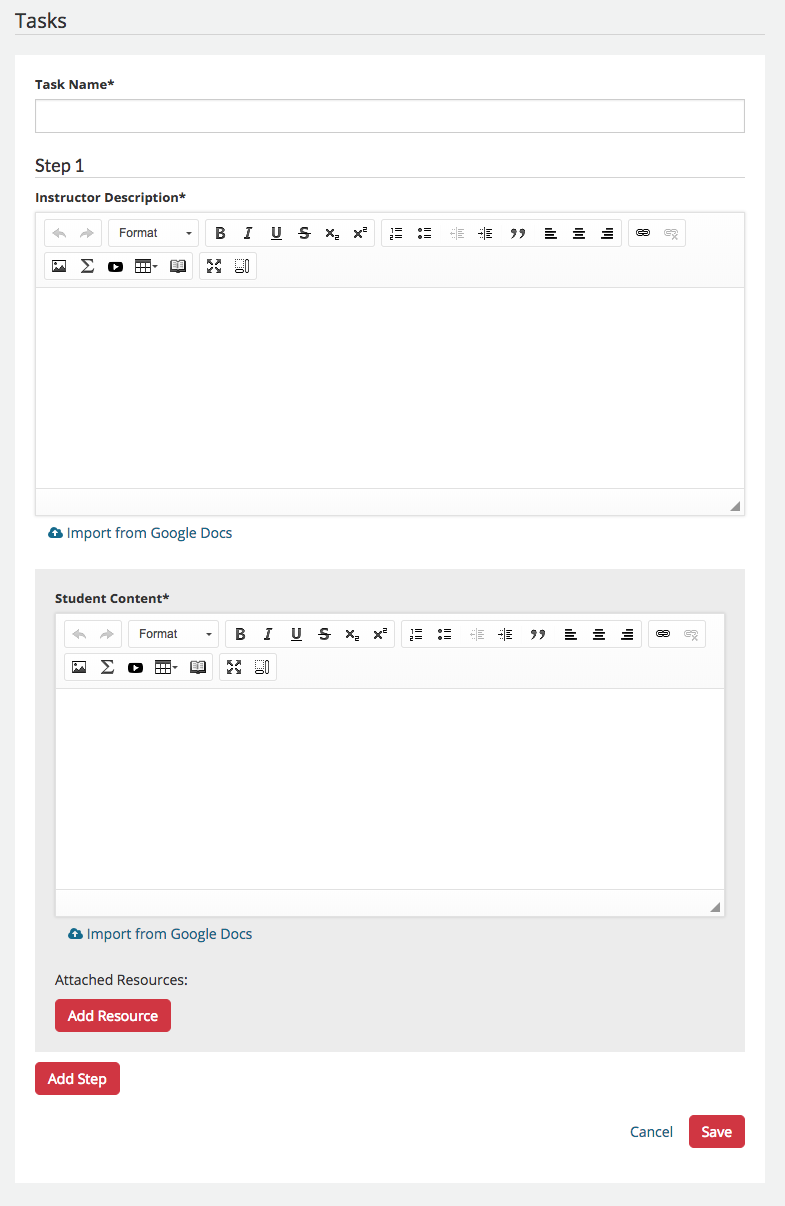
Authors will click "Add a Task" to begin entering the instructional materials for both students and educators.
STEP 3: Describing Your Content
Assigning Metadata and Keywords
You will be asked to describe each of the Learning Objectives. It is recommended that the team agree on the metadata that will be used, and that OhioLINK work with grantees for any specific keywords to include.

Describe screen where authors will add the metadata to describe each Learning Objective.
When you have added your metadata click Save then Publish Objective. If you are not ready to publish, you can save your resource and it will appear as a DRAFT in My Items (and in your Cohort Group).
What will my content look like?
OpenStax Psychology embedded into the Courseware tool: https://ohiolink.oercommons.org/courseware/5